Hello everyone, my name is Amanda. I am remodeling my stair case and wanted to share my journey, lets start at the begiining....
Phase One:
Step One:
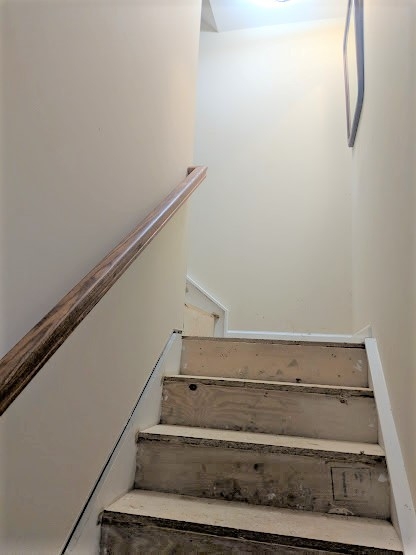
Remove carpet from stairs.
This was way easier than I anticipated, but i was surprised by the amount of staples!
Step Two:
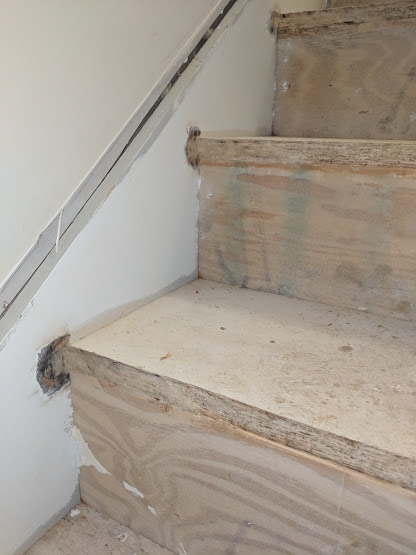
Cut the nose off of steps to make them flush.
I used a fine tool to do this. Bondo or Minwax Wood Putty and paint will cover up the gaps.
Step Three:
Measure twice, cut once.
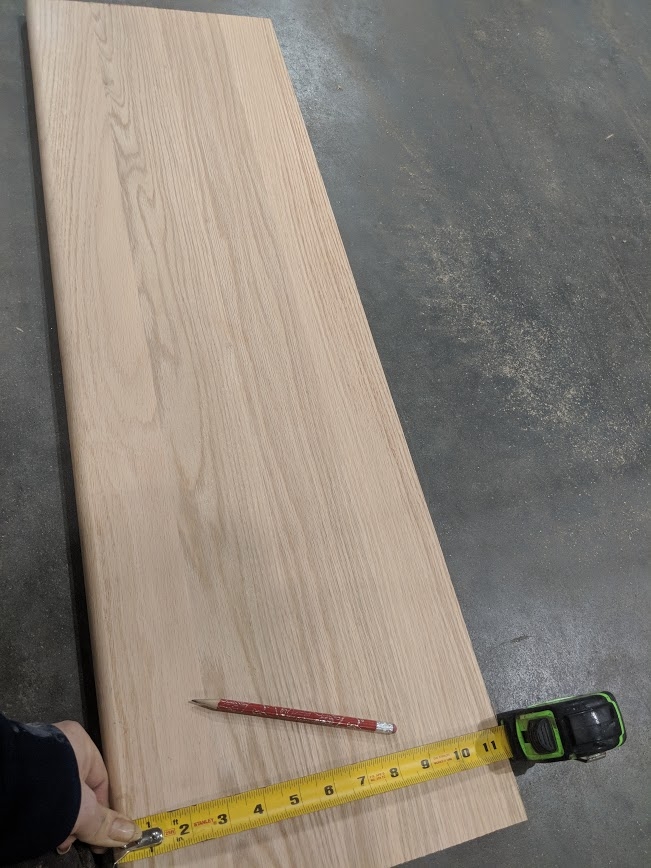
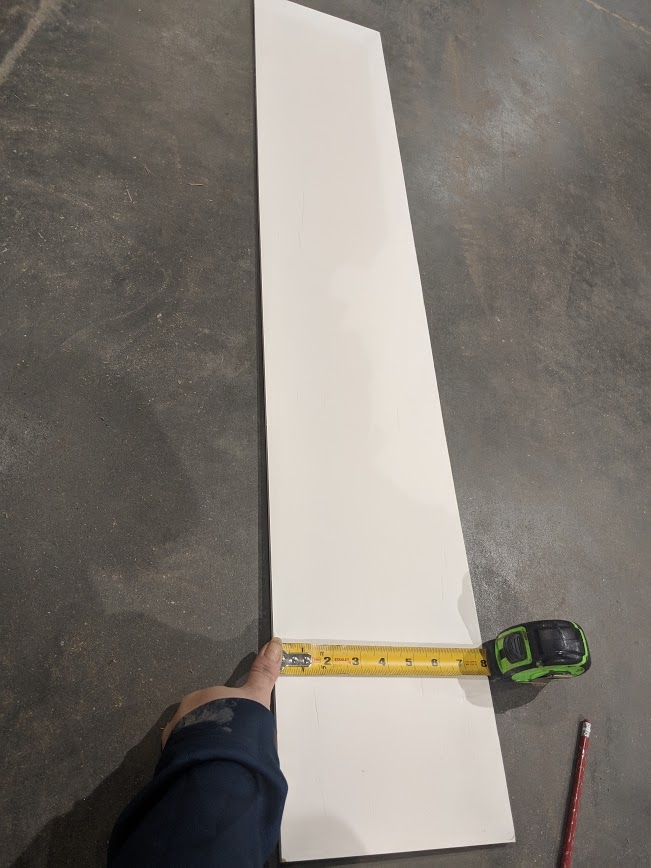
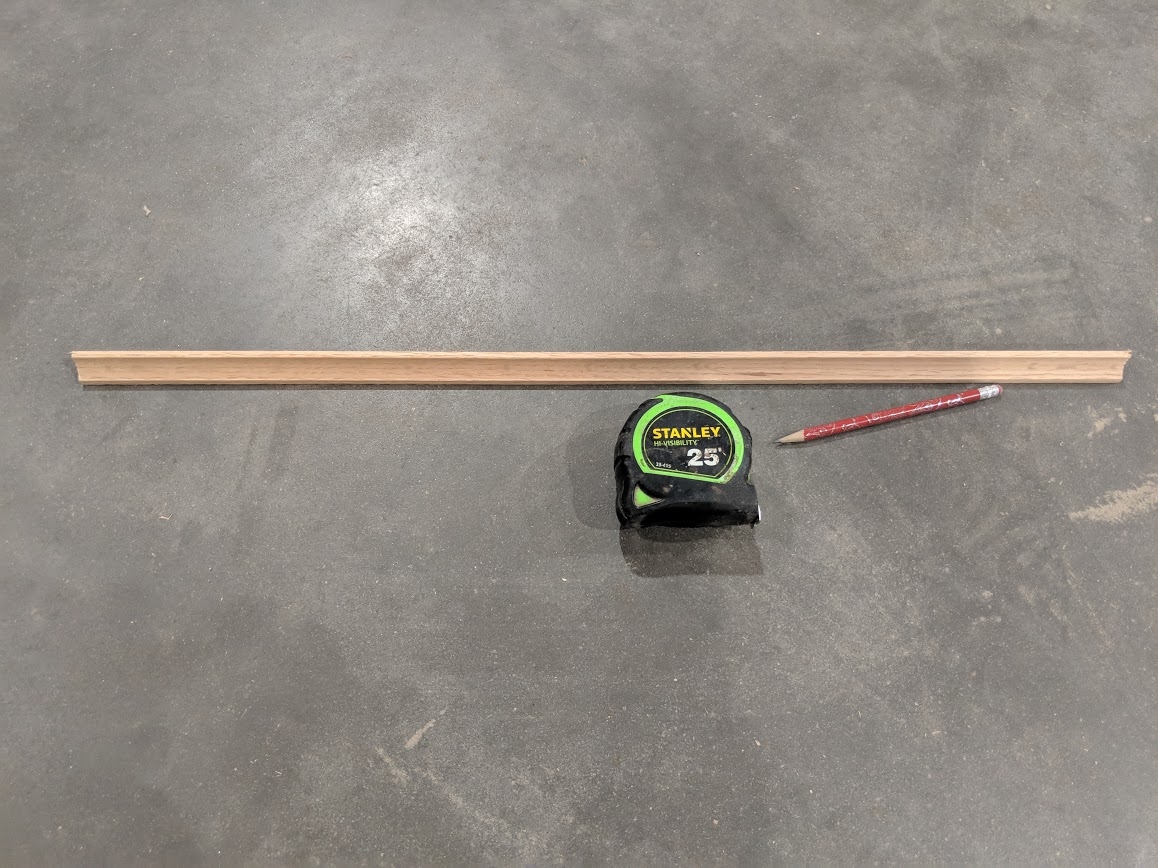
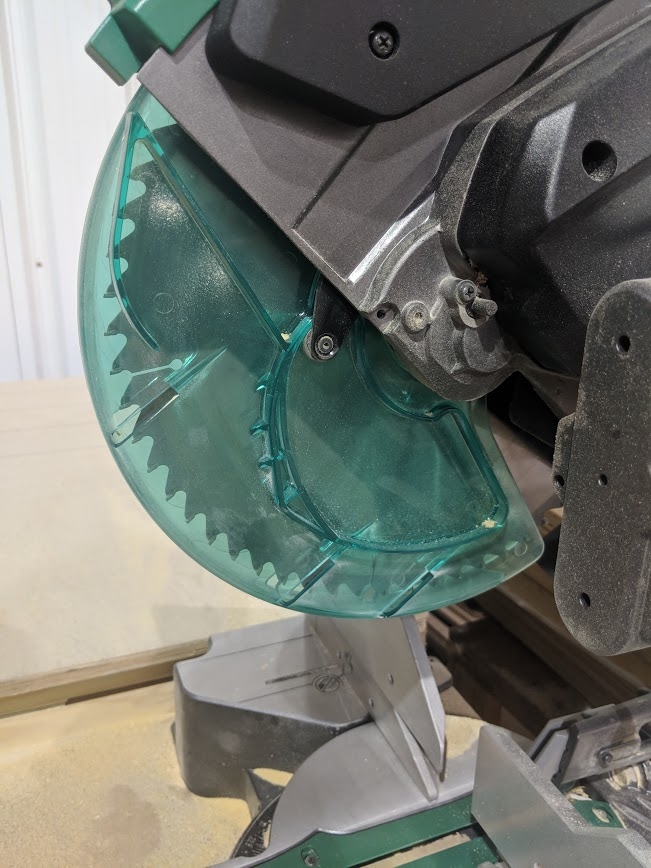
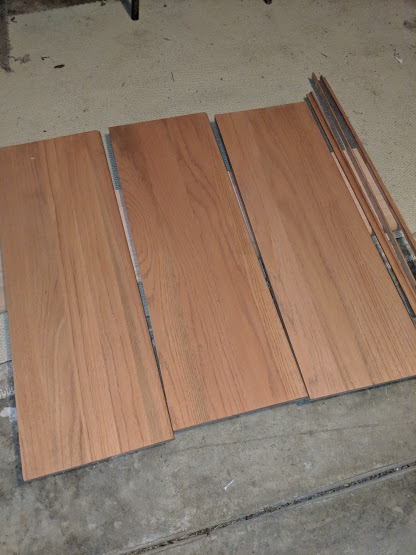
I made sure to measure the length and width of every step, three of them are wider than the other nine. I used a table saw to cut the treads, risers, and cove moulding.
Step Four:
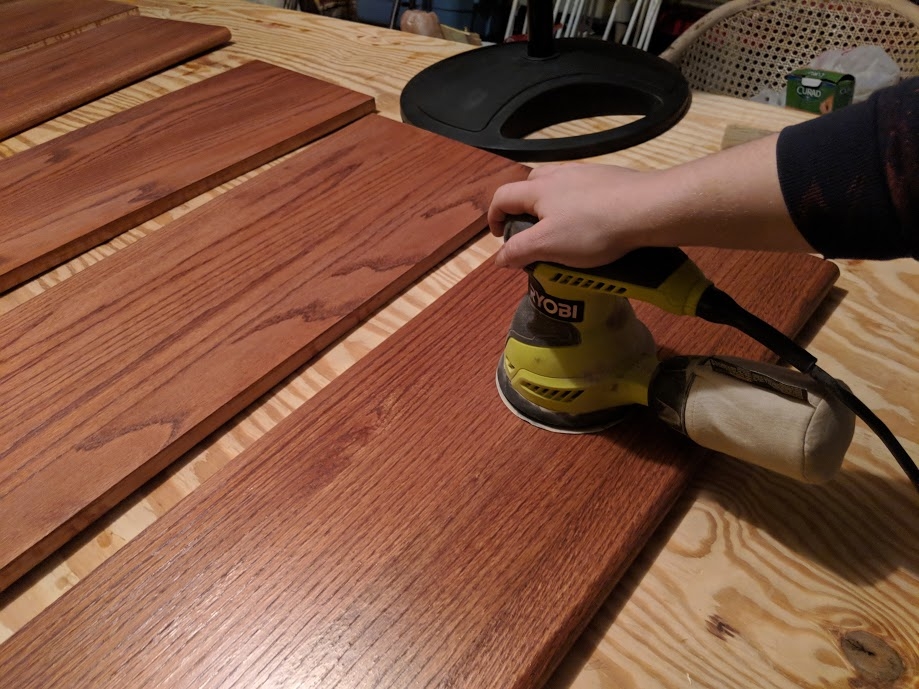
Sand!
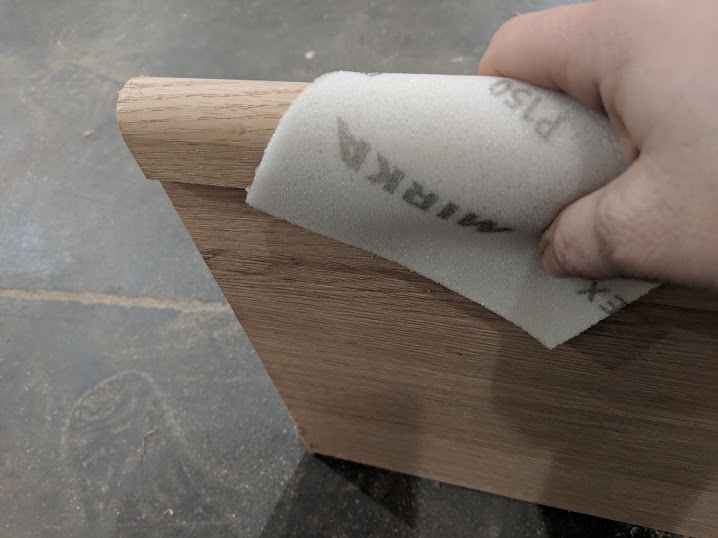
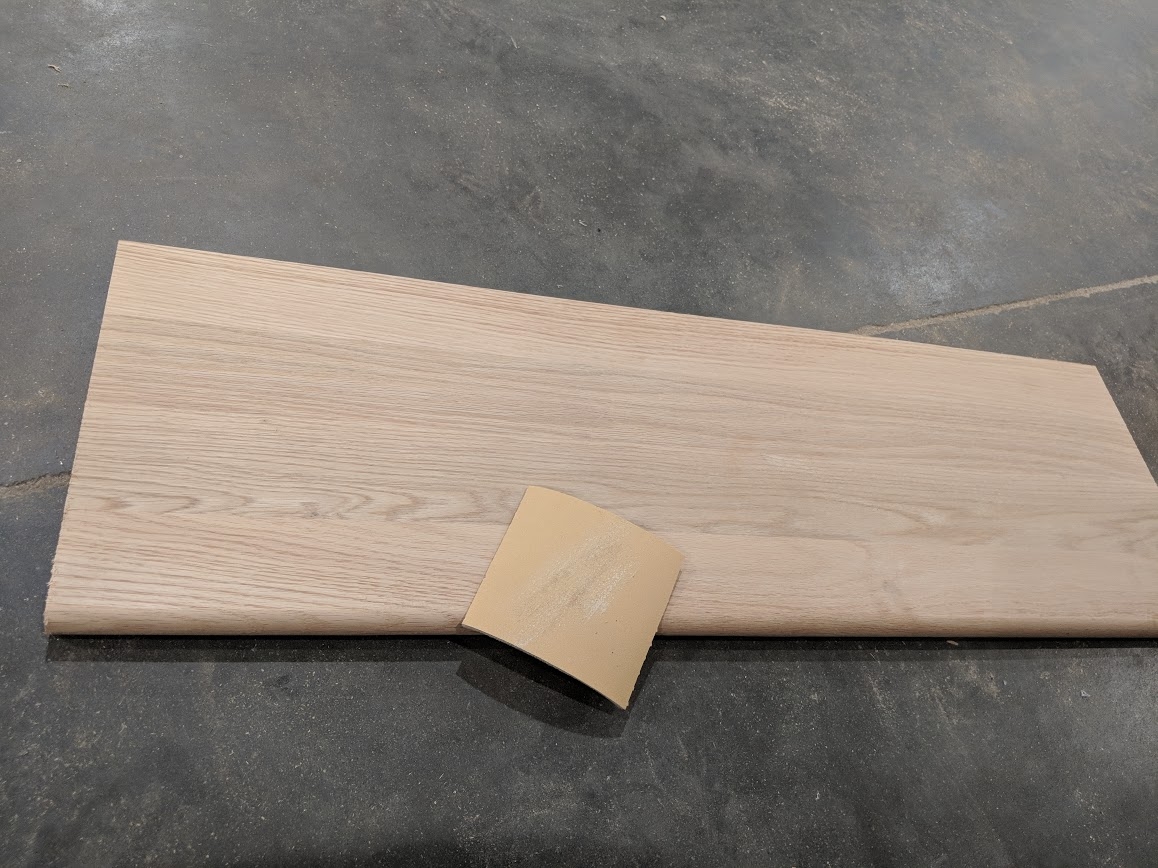
I lightly sanded the entire surface of each tread, nosing, an cove moulding. Don't forget to dust the material off each time after you sand before adding any stain or polyurethane to ensure a smooth surface. Using sandpaper with a lowwer grain to start with and then going over it again with a higher grain will help to give you that glass finish. For example I used 150 grit and then 220 grit on the unfinished wood, and when I sanded after staining and between coats of polyurethane I used 220 grit and then 320 grit.
Step Five:
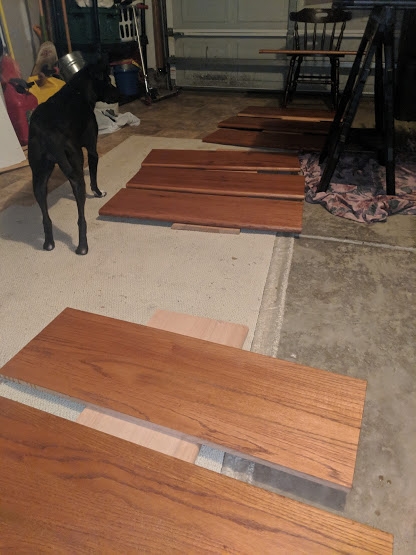
Give your materials about 2 or 3 coats of stain, letting them dry between each coat.
I let these dry over night between coats. Staining is so much more satifying than painting- the stain really brings out the natural beauty and character of the wood!
Step Six:
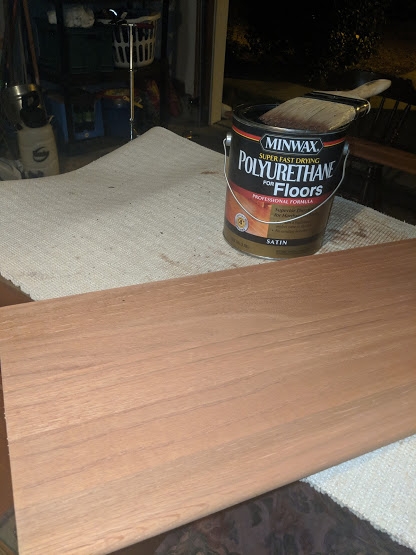
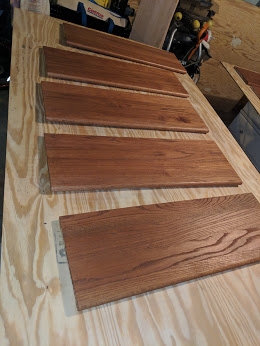
Give your stained and dried materials about 2 or 3 coats of polyurethane. Let the materials dry between coats, and sand them lightly before applying another coat(remember-220 grit,wipe, 320 grit, wipe).
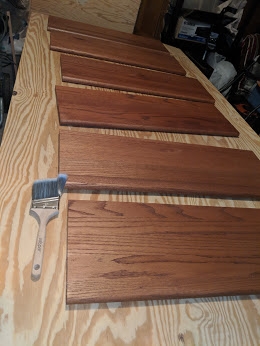
My most useful tip: have something that the treads can sit up on when they dry so that the nose isn't touching any surface. I had things lying around the garage like bricks and spare pieces of wood and cove moulding.
Step Seven:
Final step of Phase One: Let the treads and cove moulding dry and then cure for a couple of days while moving on to risers.
Phase 2. Come back soon to see step by step how I prepare and design my risers.....


Comments