Hello everyone, welcome back to the third and final phase! Let's get right down to it!
Step one: get materials together:
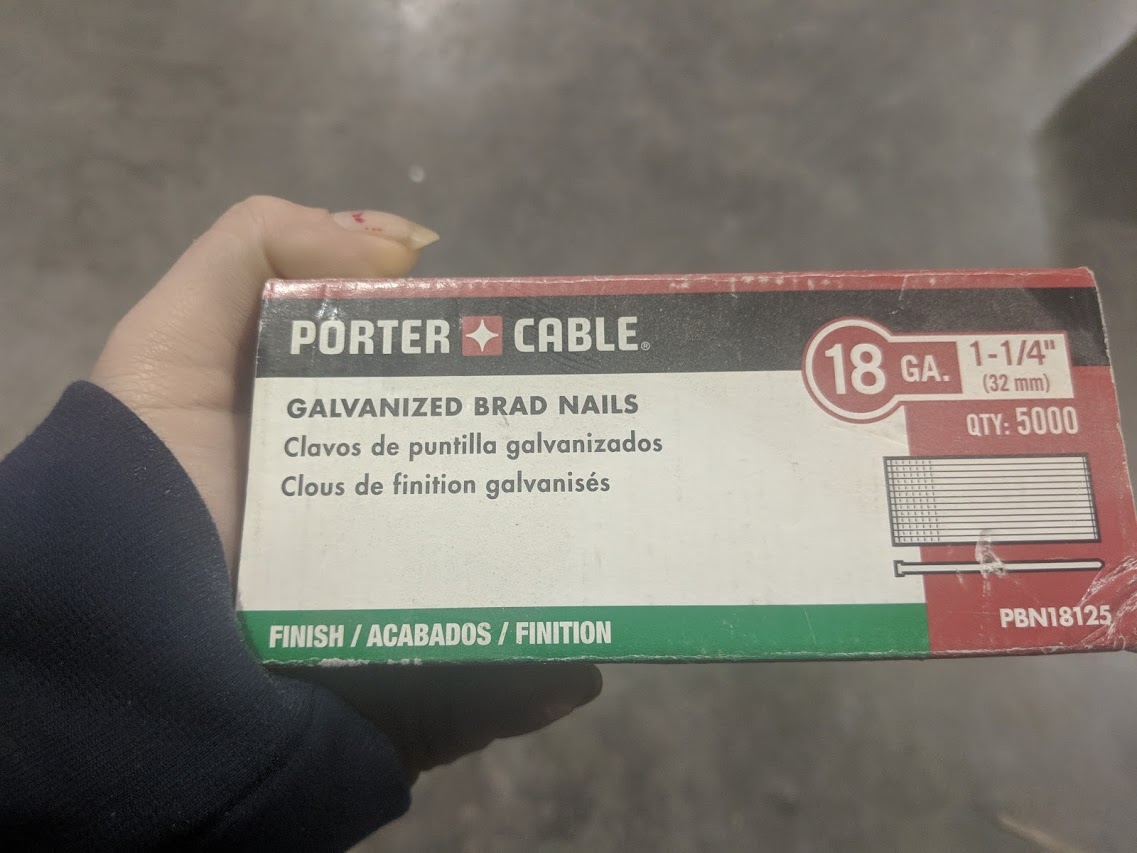
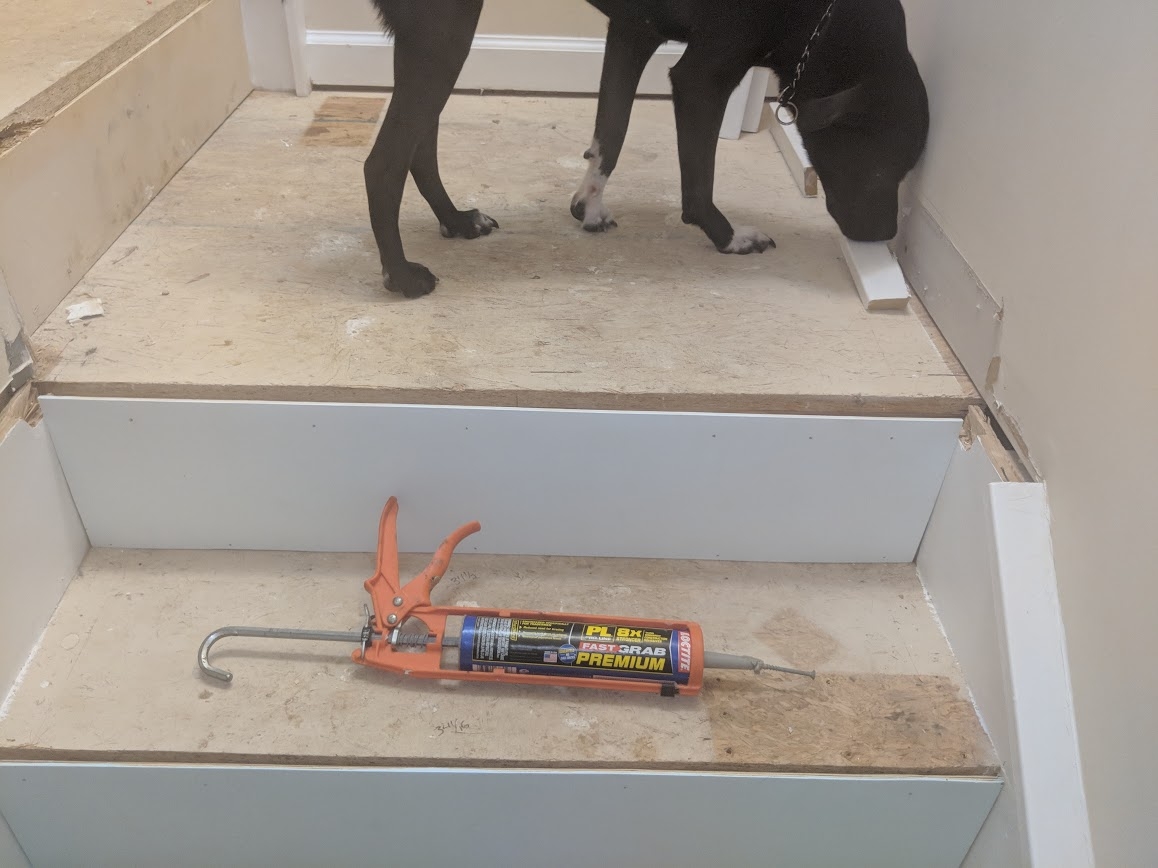
To start this phase, I first made sure I had all of my materials ready to go: Loctite PLPremium adhesive, finishing nail gun, 16 and 18 guage finishing nals, and of course, our prepped materials as follows: My cut, sanded, stained, and poly'd treads, nosing's (landing treads) cove moulding, and flooring (tongue and groove flooring). Also my cut, sanded, and painted risers.

Step Two: Having this as the first step for the actual installation is optional, but at Stair-Treads we prefer to install the risers befor the treads. Adhere them to your subtread with Loctite PLPremium adhesive and use 18 guage finishing nails in each corner of the riser. You can put a nail in the middle of the top and bottom of the riser as well if you prefer.
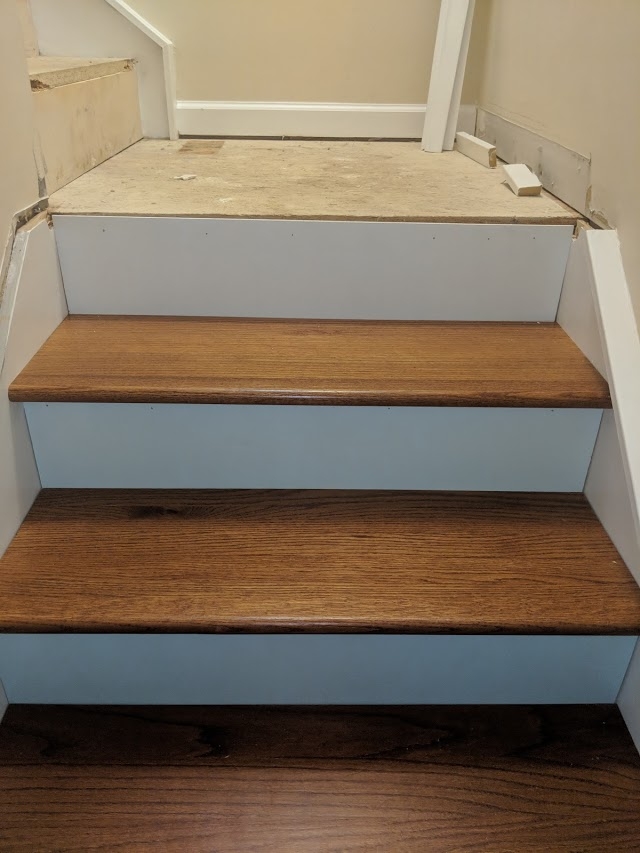
Step Three: Install the treads by applying some Loctite PLPremium on the bottom side of the tread and sliding them over the subtread. Use a 16 guage finishing nail in each corner of the tread (again with one in the middle of the tread towards the back and front as well if you prefer).
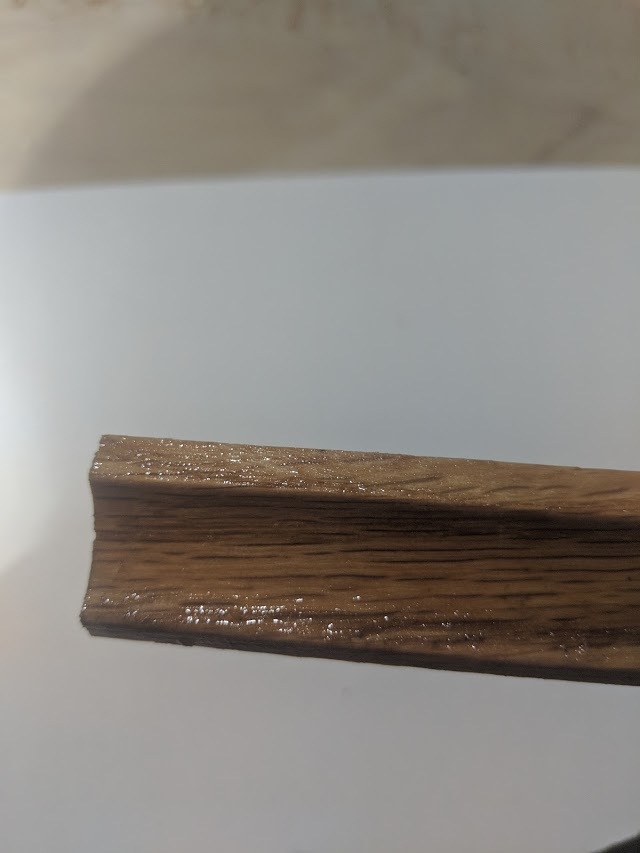
Step Four: Install cove moulding where the tread and riser meet. Adhere with Loctite and a 16 guage finishing nail.
Step Five: Install landing treads (nosing pieces) BEFORE your tongue and groove panels/flooring. Cut the landing tread to the length you need. Use Loctite PLPremium on the underside of the body of the tread and use a 16 guage finishing nail-one in each side and one in the middle( depending on the length of this part, mine was 36"). For longer lengths, use a nail one each end of the landing tread and about 1 per foot throughout the middle. Slide the landing tread in place over theedge of the bare landing just as you did your new retro treads over the subtreads.Landings with differently shaped angles can be covered this way as well. The landing treads(s) will just need to be miter cut into the angles you need and then you will simply match the ends up and install the same way.
Step Six (THE FINAL STEP): Install your flooring behind your nosing/ landing tread. The landing tread and each one of the panels have a tongue and groove piece which makes the parts easy to snap together. Before the actual install of the boards, it is recommended that you lay them all out in the direction they will be facing to have a look at the grain and slight color range of the stain on the wood. Arrange them in a way that is most visually pleasing to you. This step ensures a good blend of the coloring so you don't perhaps have too many lighter or darker colored coards all clumped together. Cut each panel (flooring board) individually according to the length and shape needed. Install one piece behind the other one at a time starting behind the landing tread. These can also be miter cut to compensate for any angles in the landing. Use a little Loctite PLPremium for each board and a 16 guage finishing nail on each end.
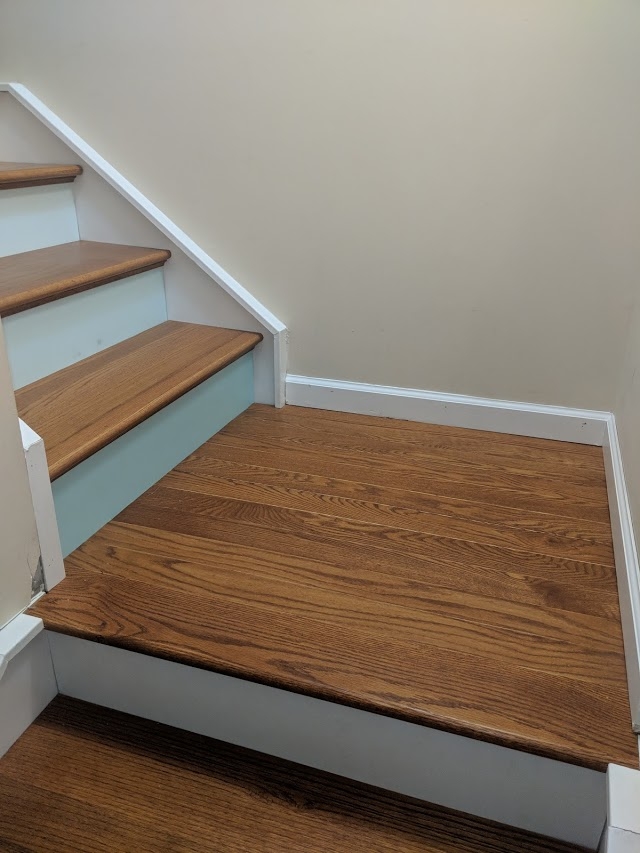
If needed, you can use a fill/putty stick to fill in where any nicks where made during cutting. Otherwise,
You. Are. Done.....
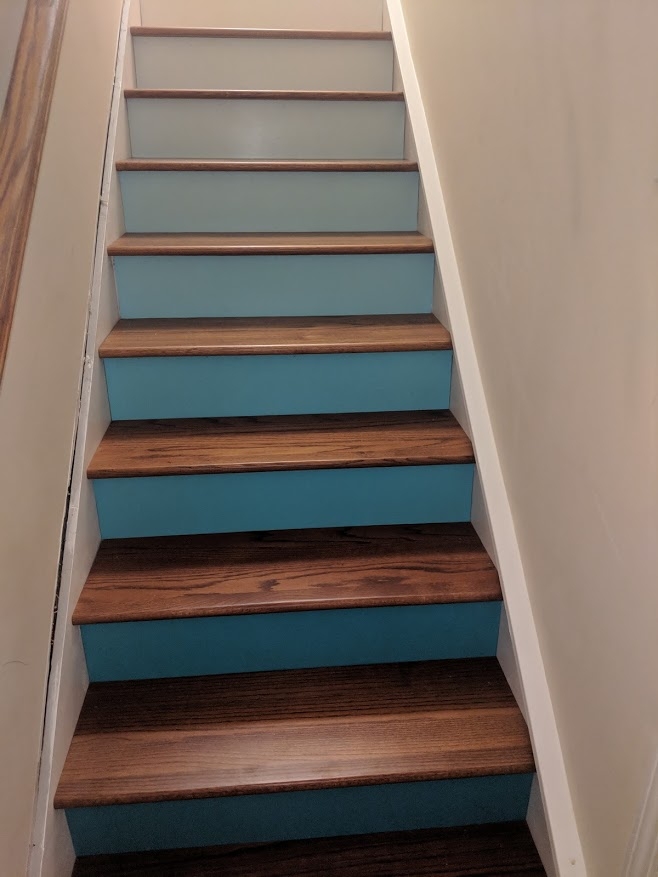
Congratulations on your newly remodeled stair case!!!
If you need any further help with your project- give us a call at (866) 429- 0979. Thanks for choosing Stair Treads!


Comments