Hello again! Welcome to Phase 2 of Installing My Stairs….
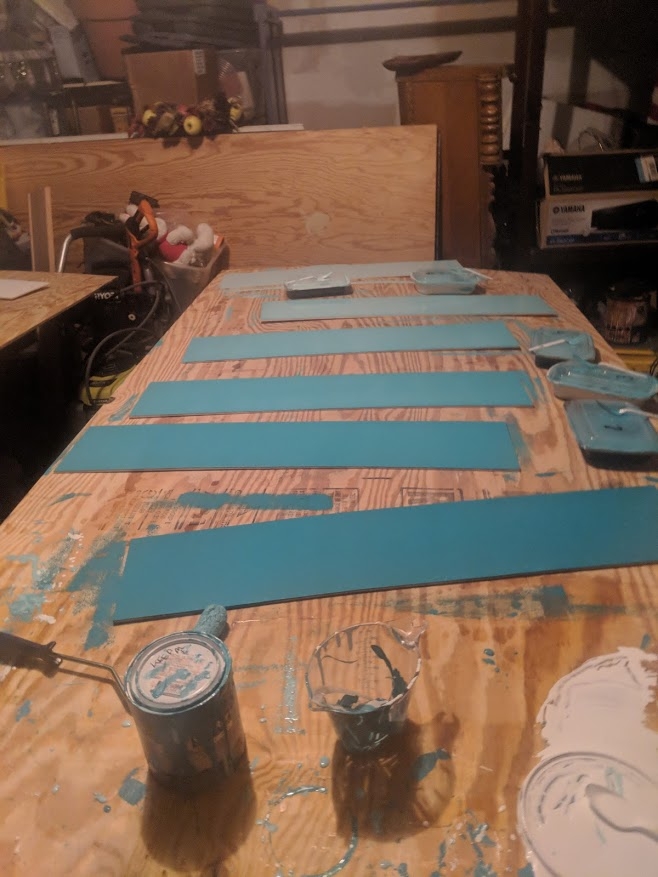
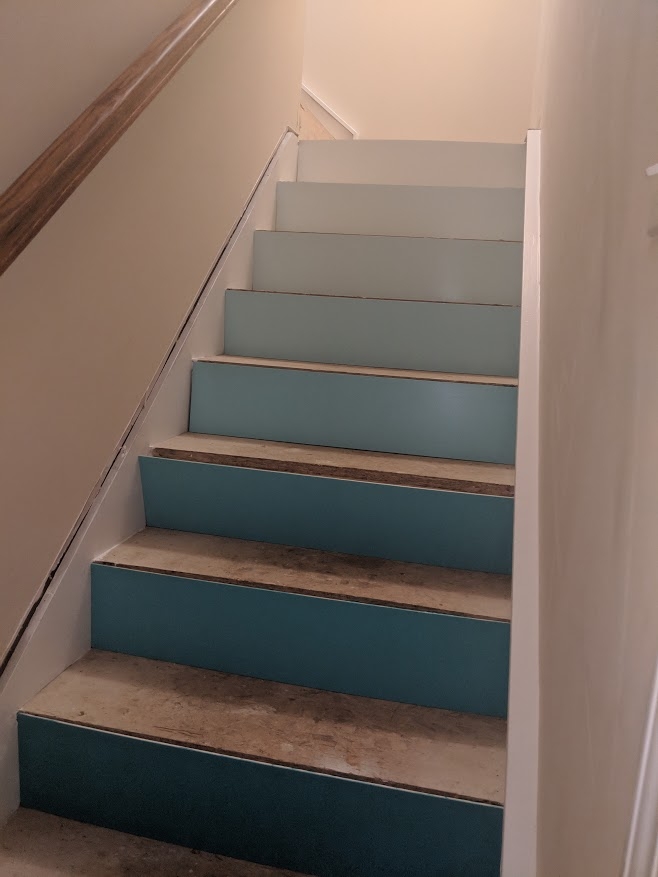
While waiting on my treads to cure, I started looking into what I wanted to do with my pre-primed white risers to make them more beautiful and make them stand out. After a lot of poking around at different ideas from the internet I decided to create a “gradient” look, that is, to start with one darker color of paint on the bottom riser and lighten it up each step until the top riser is nearly white. Here's how I did it...
Step One:
Get materials for this phase of project.
Wood putty, sandpaper, paint, and a foam roller or paint brush for each riser.
I bought a gallon of white paint to lighten the base color up with for each step (and to touch up my skirt boards/stringers with). I also got wood putty to fill in the grooves and notches left on the skirt boards/stringers with to then be painted over and touched up.
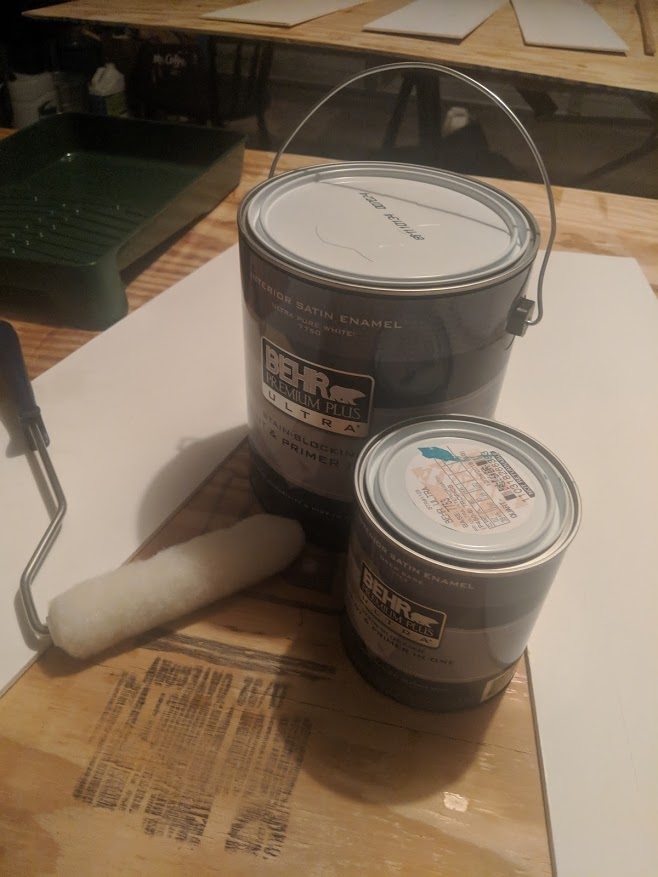
After annoying the nice gentleman at my local Home Depot for over an hour, I finally picked my base color:
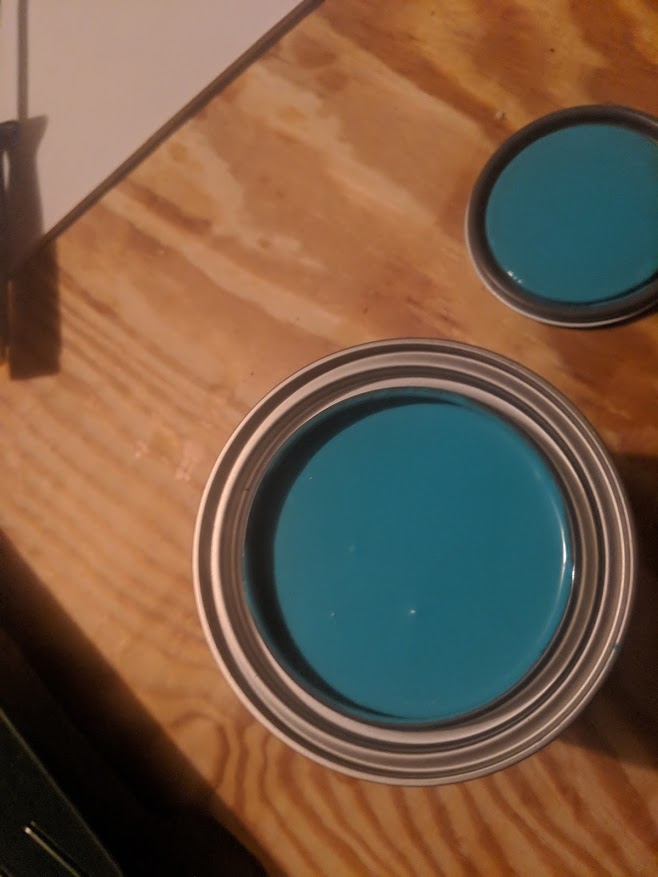
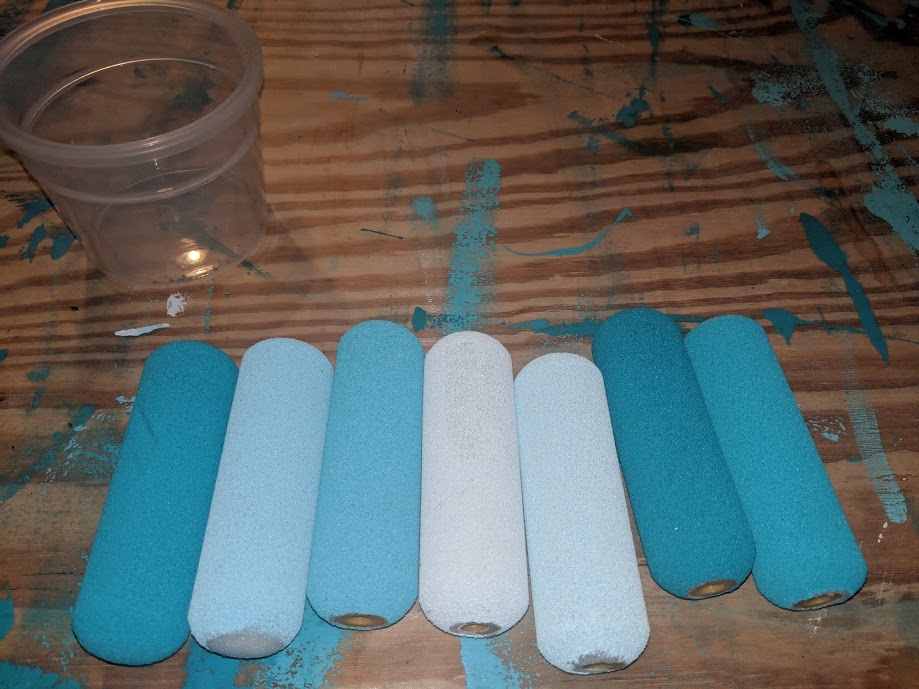
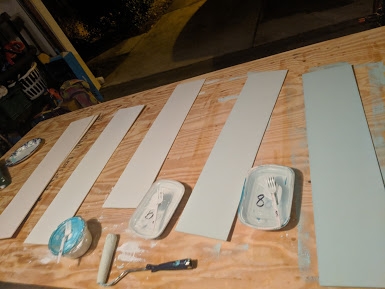
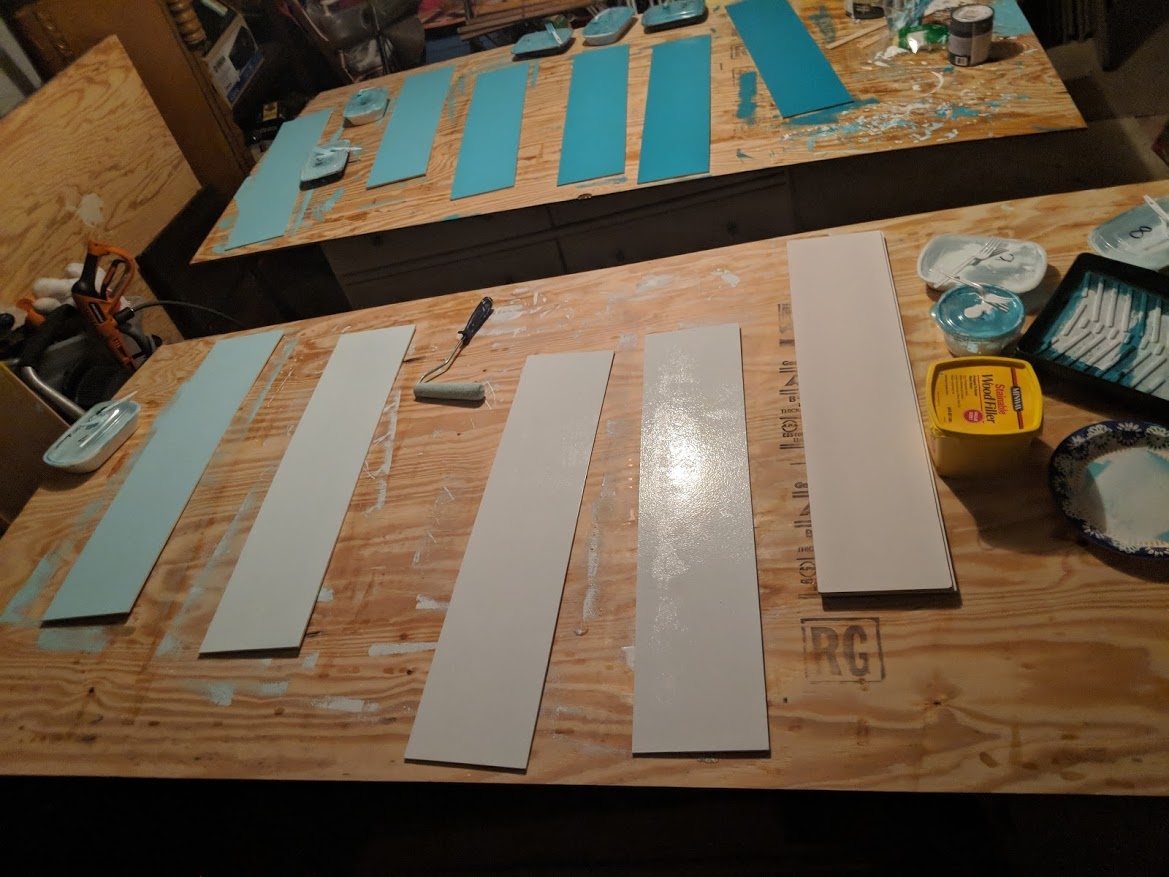
Long story short is I recommend using foam rollers to paint with unless you want a hand painted/wire brushed looking finish. I started with getting a regular paint brush for each step( they all have a different color, use one for each so one color doesn’t bleed onto the next riser you paint) but ended up not liking the brush marks as much as I thought I would, not to mention the frustration of trying to get out the debris this kind of brush tends to leave behind more often. I sanded them down and repainted each of them with a foam roller. This gave me a flatter, less debris ridden finish. I used the 220 and 320 grit to sand the first coat of paint with before applying one more coat.
Step Two:
Create color for each riser.
I have 14 total risers; 10 risers, a landing, then 4 more risers after turning. Instead of making 14 different colors- I made 9 colors (the 1rst and bottom color did not have to be made, but was used straight out of the can). I used colors 1-10 on the bottom flight of 10 risers and reused the lightest colors again for the top 4 risers(colors 7-10).
I numbered each riser according to which step it belonged to so I could make sure the correct color would be painted onto the correct step. When I made my colors I also labeled them to be specific to their own riser (1-9 plus the base color).
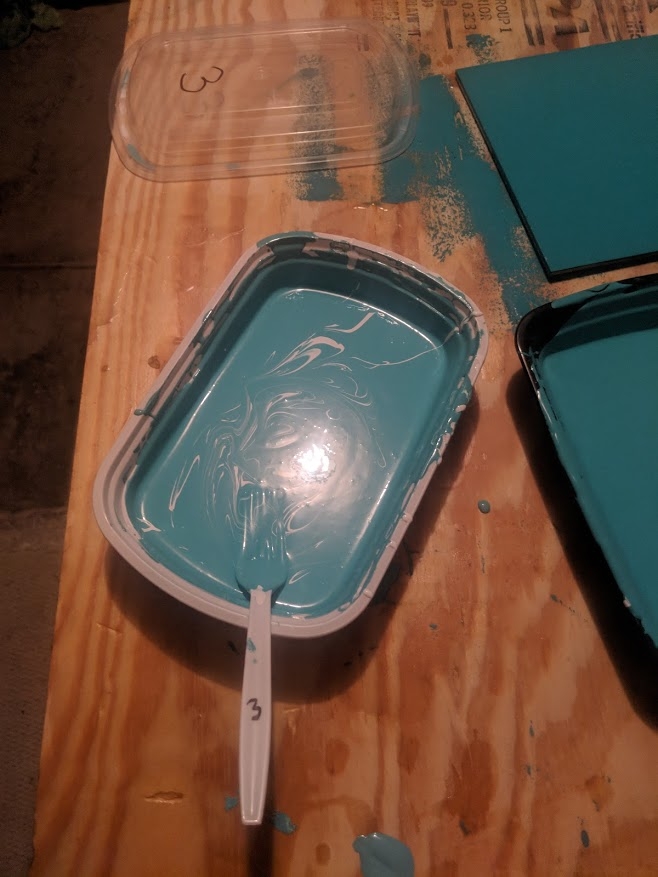
I blended and settled on all of my colors in their own labeled container before I started painting in order to have the shades I created look nice sitting next to each other. A dry coat of paint is a different color than a wet coat so having all the colors sitting side by side in their liquid state helps to see the gradient you are going for.
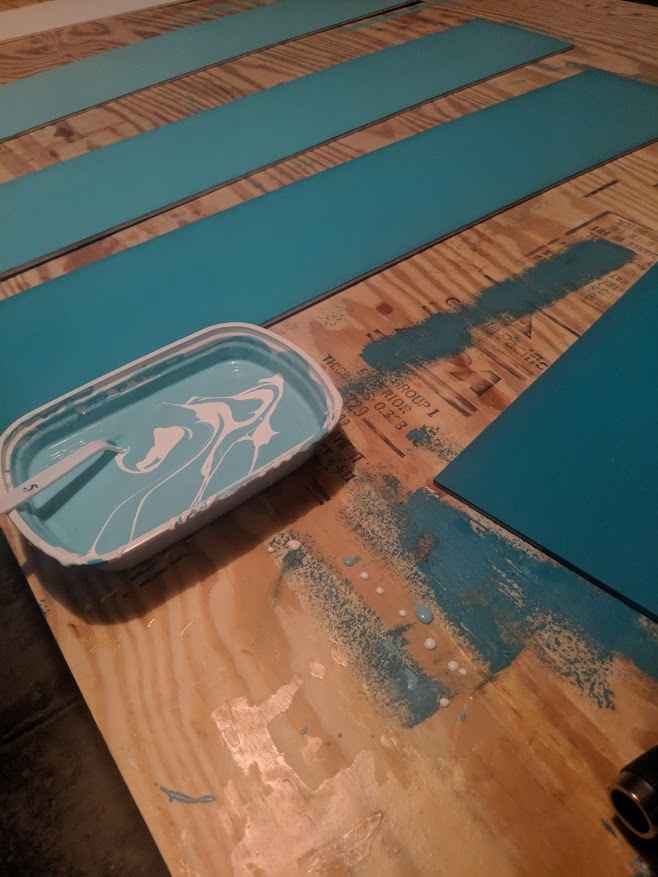
Step Three:
Make sure your risers have been sanded smooth, and then give your risers their first coat of paint. Let them dry before applying one more.
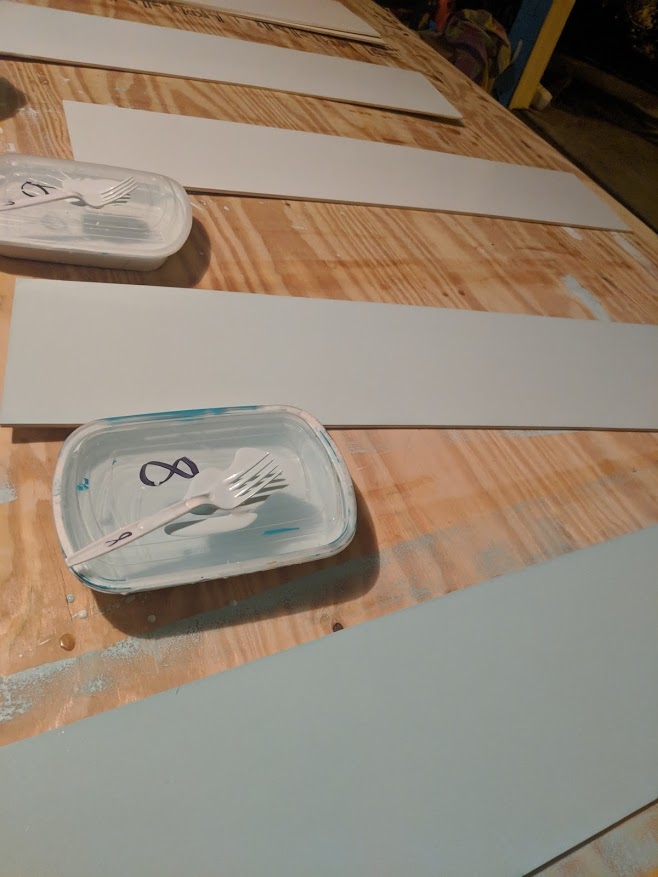
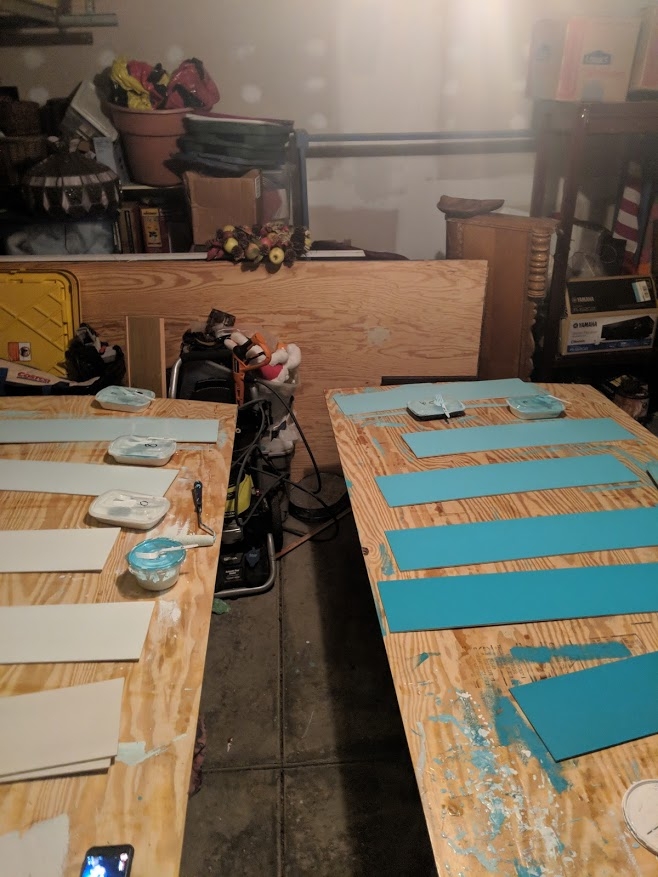
Step Four:
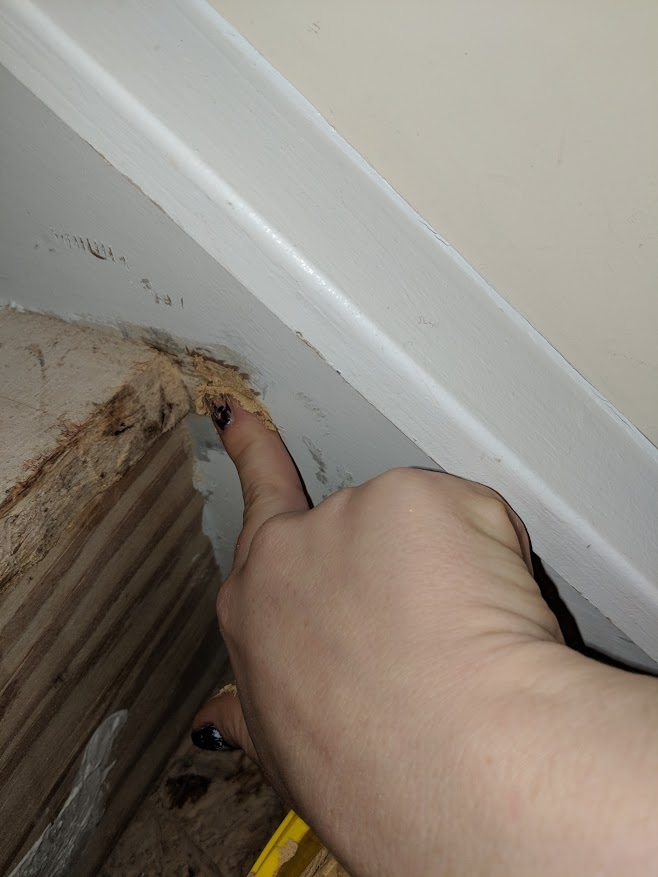
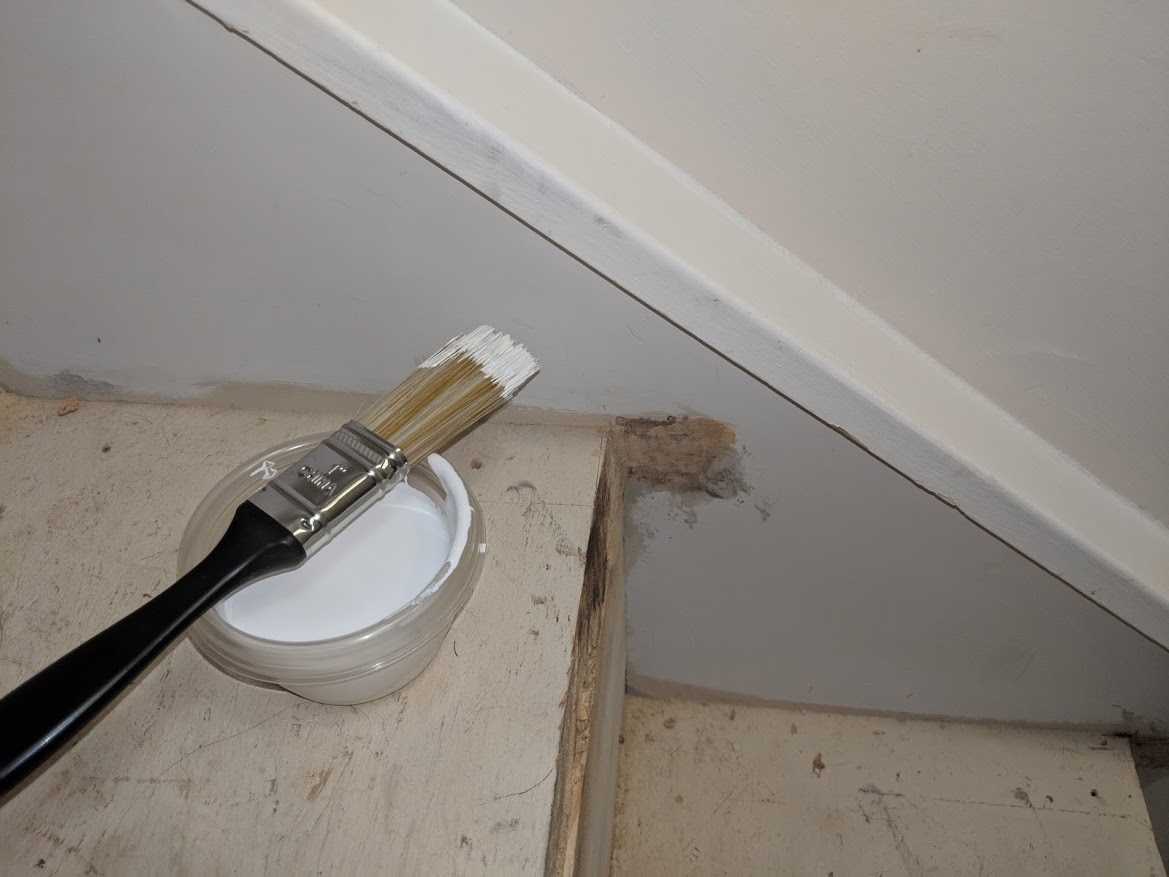
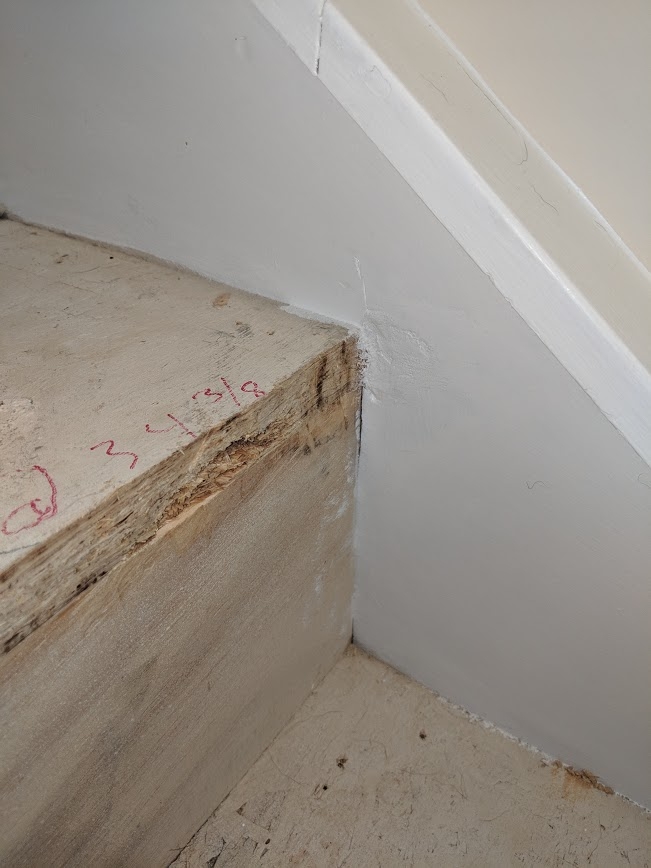
Filling in grooves/marks left by the nosing removed from my old steps.
I did this step while waiting on first coat of paint from risers to dry.
I filled wood putty into the groves and gave it a few minutes to dry. I then sanded down the wood putty. After it was flat and smooth, I painted over where the putty was. The new tread will cover most of the area up, but this step will ensure no spots are missed and will give your completed project an overall nicer look.
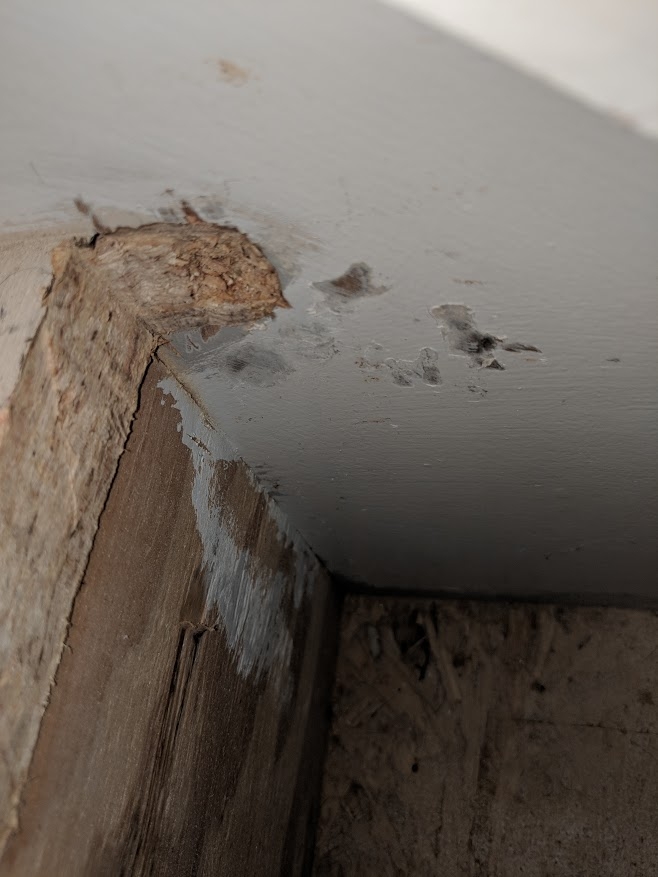
Step Five (or step 3.5 if you prefer):
Lightly sand risers and apply one more coat of paint. Let them dry. After all your paint is dry all of your prep work is done, and you will be ready to install!
Phase 3. Make sure to check back in for the third and final phase of the project!!!


Comments